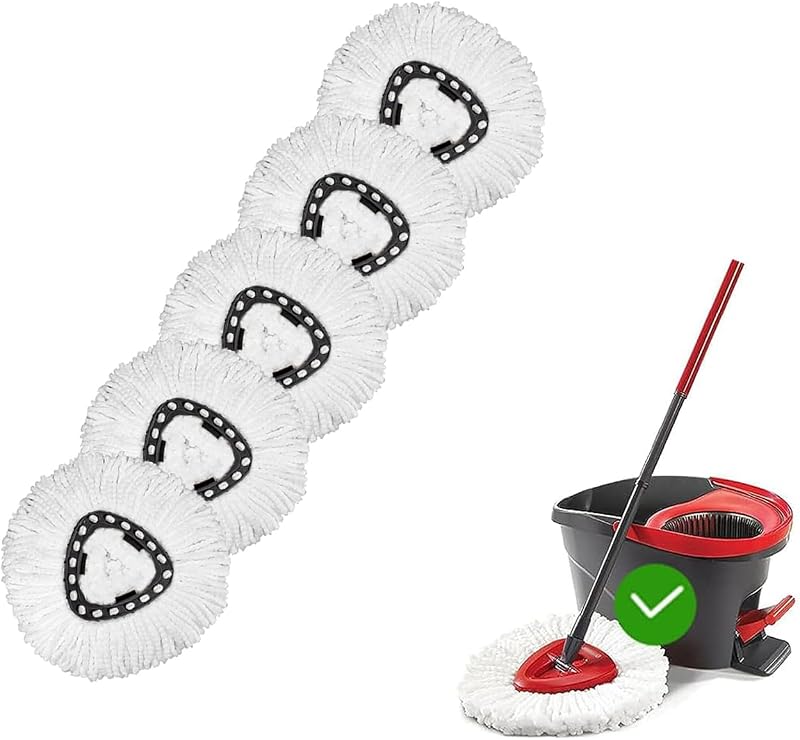
Cargando el producto…

Precio desde
$ 21.823
+ flete y aranceles — se calculan al cotizar
Tamaño
Compra protegida
Puerta a puerta
Aduana incluida
Product description How to maintain performance To maintain perfect shave effect and 100% performance, it is recommended that the SH30 blades be replaced every 12 months. SH30 Replacement Heads Compatible with Philips Norelco Series 3000, 2000, 1000 Shavers and S738 Click and Style Slides gently over the skin for a smooth shaving experience. These sh30 replacement blades are made of selected stainless steel, providing meticulous cut. We comprehensively control and check the production process, details and parameters of each replacement head. Easy to replace for the smooth shaving experience. Reasonable cutting blade design, protect your skin from being scratched. Superior lifting and cutting technology without excessive straining of the beard. Easy to clean, you can rinse it after shaving or use the attached brush to clean it. STAINLESS STEEL QUALITY Each blade is made of premium stainless steel, which is sharp,waterproof and easy clean. It is as sharp as new even after a long-lasting use. TECHNOLOGICAL INNOVATION Our SH30 replacement head has made technological innovation again. 360 degrees shaving without any dead ends, it removes your beard gently, comfortably and more cleanly with Round-head design perfectly protects your skin from scratches. EASY TO INSTALL & REPLACEMENT Easy to take off and replace a new 3000 shaving head in just two minutes. It's advised to put a drop of oil on each heads and run for 10 seconds to get the best shaving experience after installation. OEM SH30 Replacement Heads Compatible with Philips Norelco Shavers Models as following: S3000 (S3xxx), S2000 (S2xxx), S1000 (S1xxx), SW37xx PT724/41, PT729/41, S738/17, S738/82, S1150/81, S1160/81, S1570, S1560/81, S3310/81, S3310/86, S3560/81, S3560/86. Step 1 Press the *release* button toopen the blade cover shell. Step 2 As shown in the figure, remove the blade cover shell from the back with gentle force. Step 3 As shown in the figure, remove the blade cover shell from the back with gentle force. Step 4 Remove the old blades and screens, the old blades can be thrown away directly, but keep the old screens first. Step 5 lnsert the screens correctly as shown in the figure, please make sure that the screens will not turn or move after installation. Step 6 After installing the fixing bracket, insert the shell from the badk and then close the shell until you feel the click.
Agregás al carrito
Sumás este y otros productos que querés traer.
Cotizás el envío
Calculamos flete aéreo y aranceles a Argentina.
Confirmás y pagás
Un asesor te contacta con el link de pago.
Lo recibís en casa
Tracking en tiempo real. Aduana incluida.
Los mejor puntuados del mismo tipo de producto
Mismo tipo de producto y precio parecido


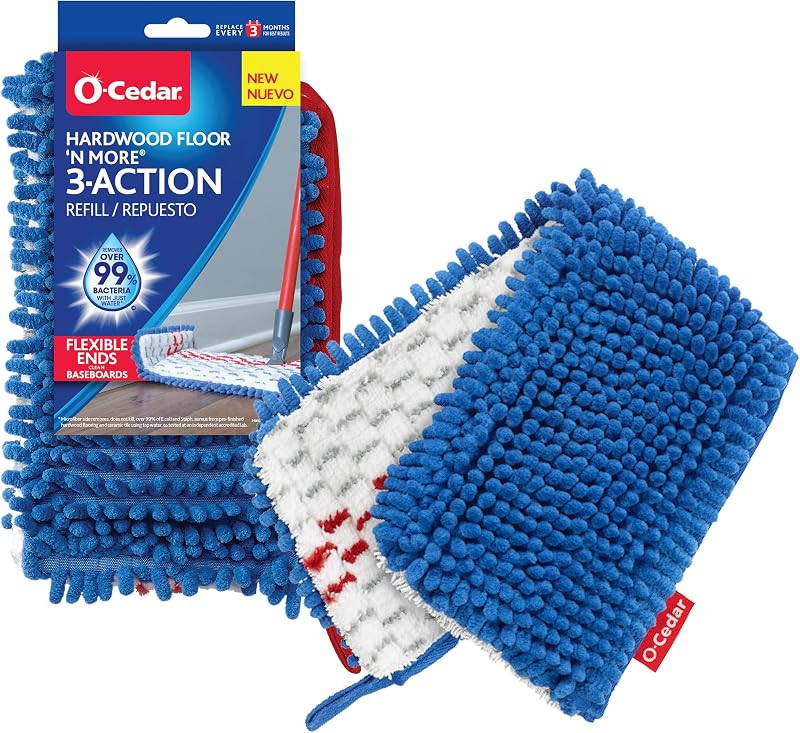


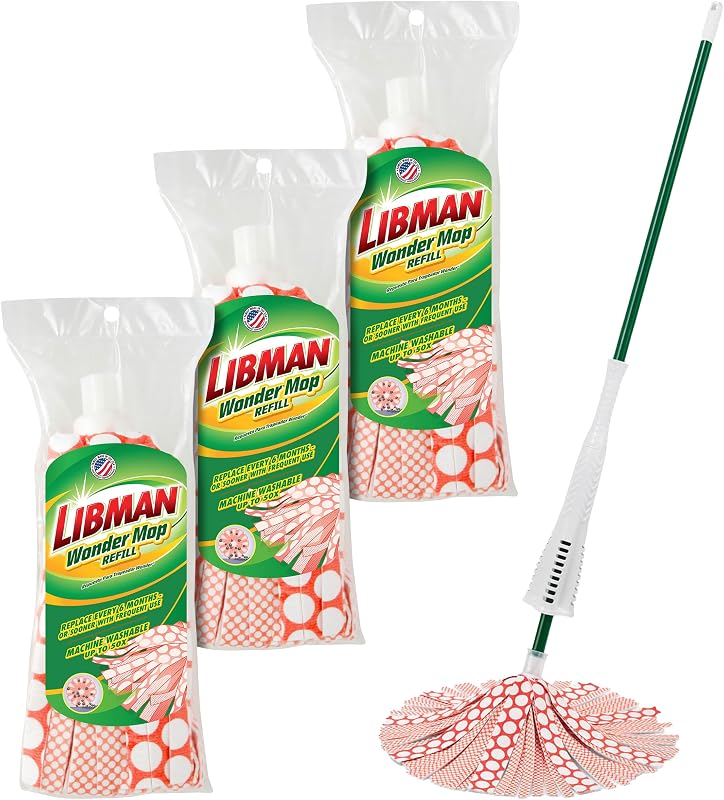


![[Paquete de 3] cabezales de repuesto para fregona, repuestos de cabezales de repuesto compatibles con el sistema de 1 tanque O Cedar Spin Mop, fácil de reemplazar, microfibra, lavable a máquina](https://m.media-amazon.com/images/I/71ZfLDzKYVL._AC_SL800_.jpg)