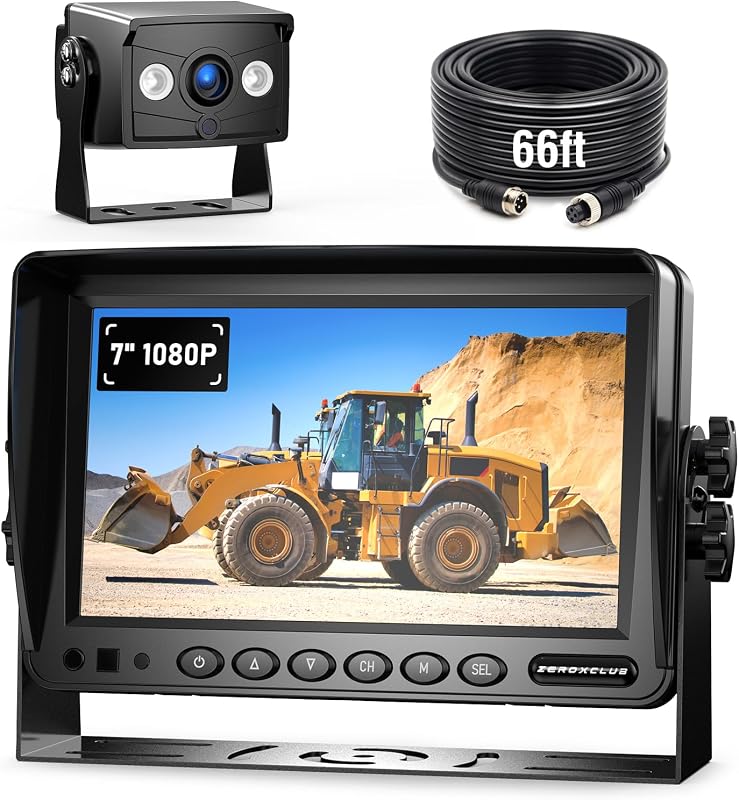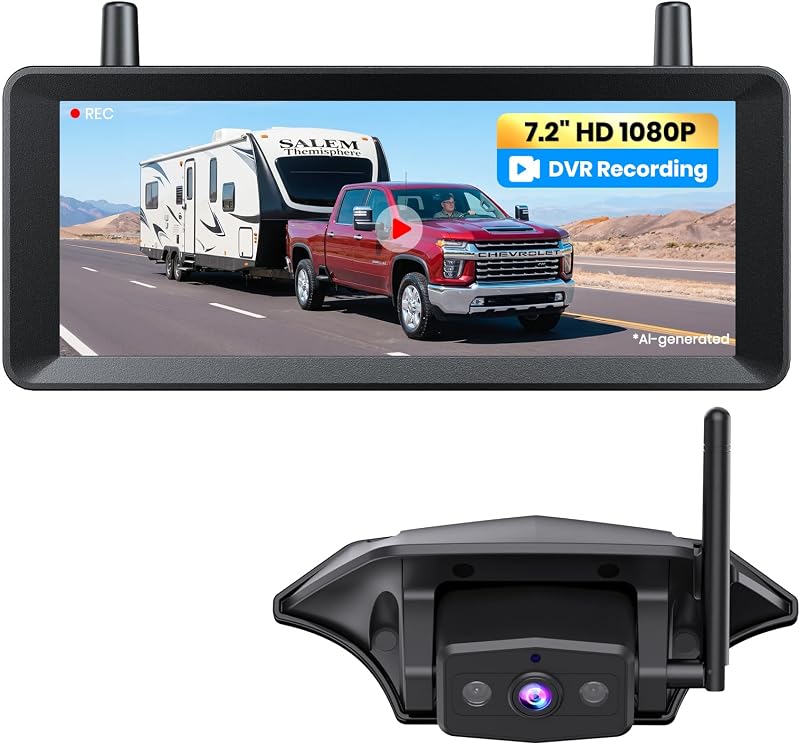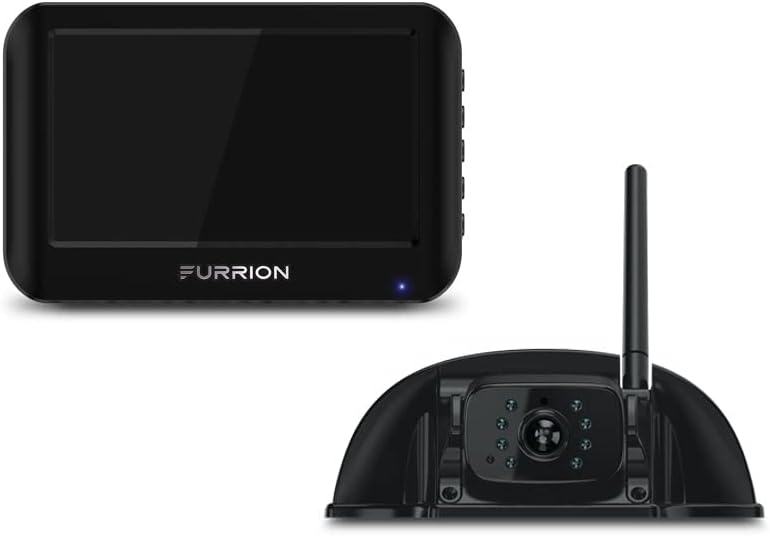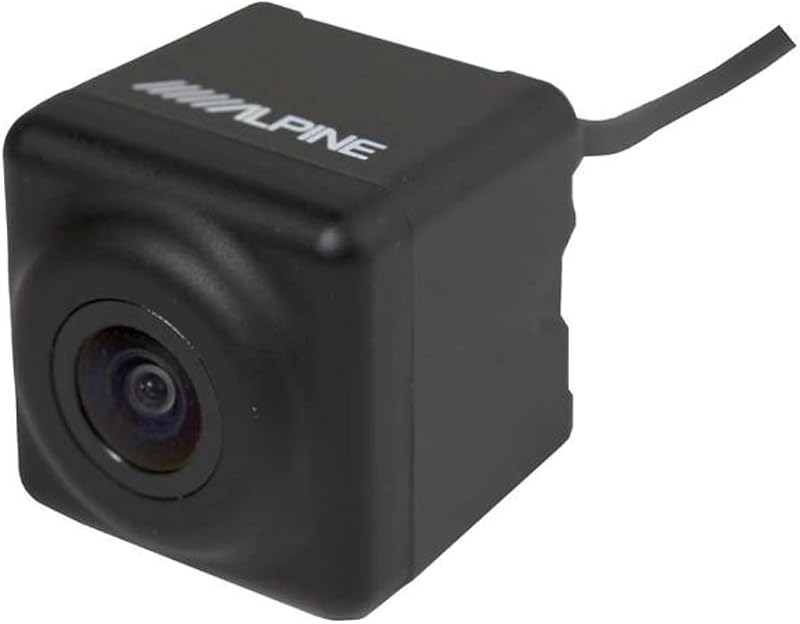
Cargando el producto…
Precio de origen
$ 313.531
+ flete y aranceles — se calculan al cotizar
Compra protegida
Puerta a puerta
Aduana incluida
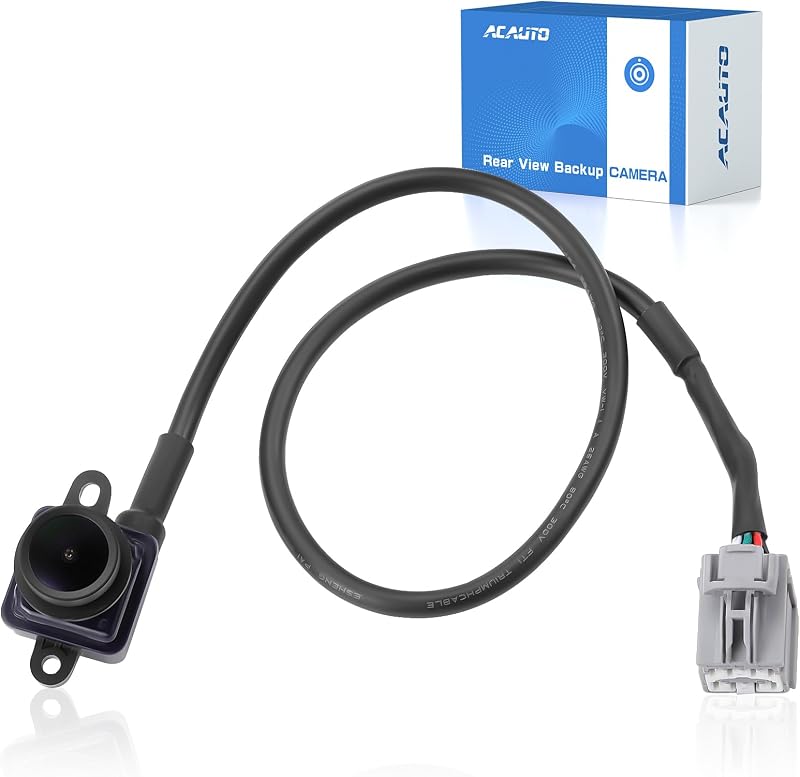
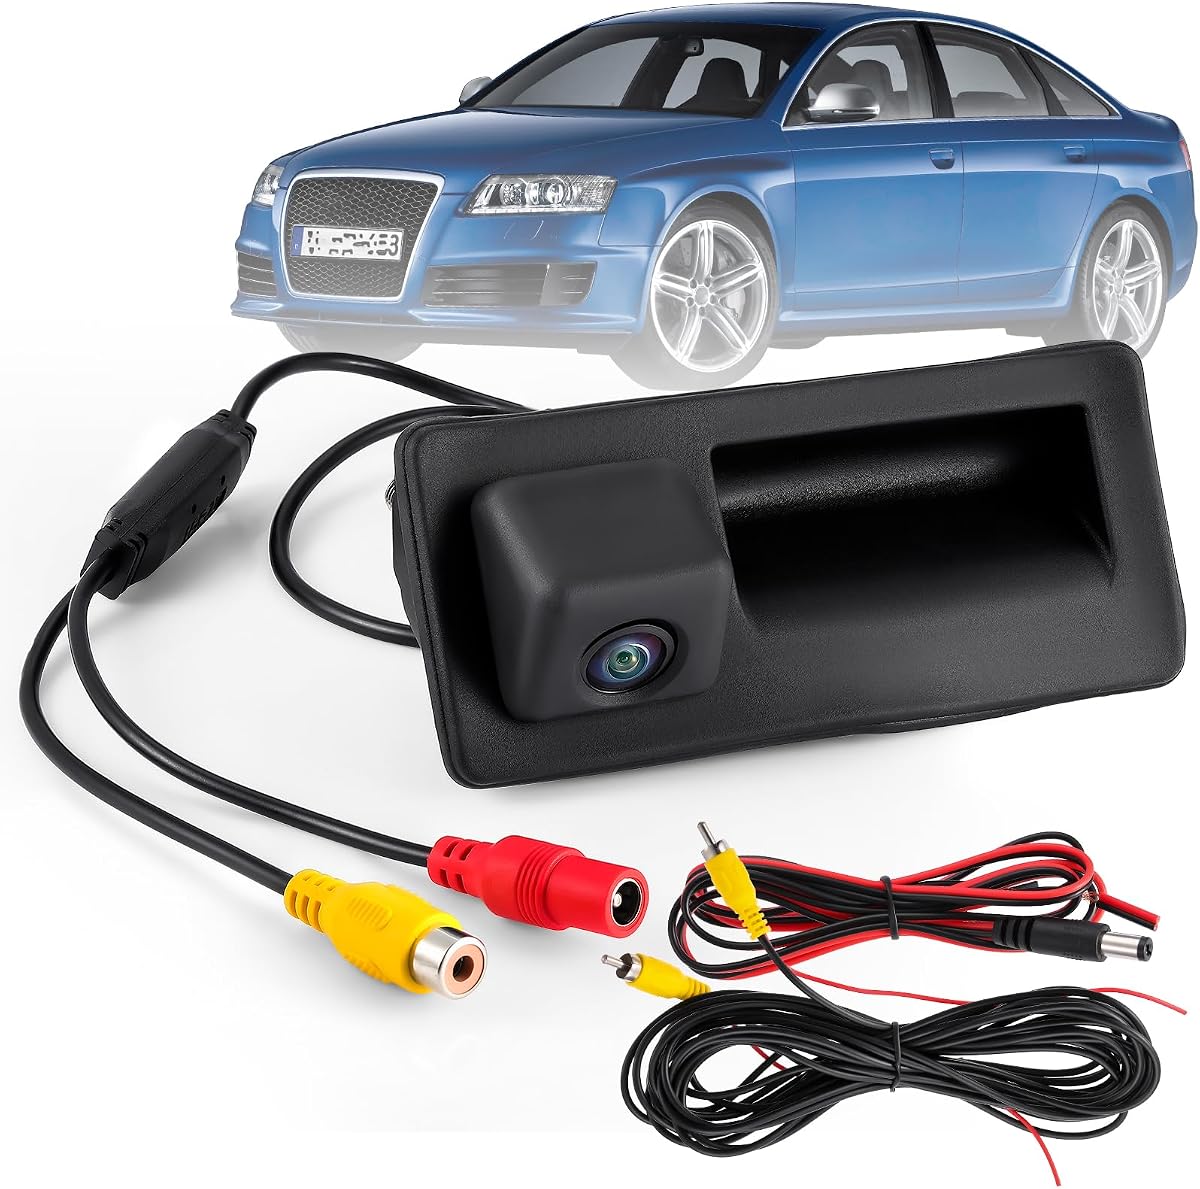
Product description INSTALL Step 1:The right side of the bezel is held on with double-sided tape, and the left side has tape and /or a plastic clip. Use a little pressure heat to lift it away. Next, remove any of the remaining double-sided tape and clean the surface for your new camera handle bezel.Step 2:Fish your camera through the tailgate towards the bottom. Remember, you technically only need to tap into the reverse light if:1. You are only powering the camera off the reverse light or2. You need a reverse trigger wireStep 3:These wires are just pass-through wires so either end can be connected at the tail light or the radio. If just connecting at the reverse light, connect the red and purple (if a trigger is needed) to the light +, and black to the light-wire. Wire Connections: Red=Camera Power(either power at reverse light or radio location)Black = GroundStep 4:Next, we need to remove a few panels to give us space to run our wire through the floor, along kick panels, to the radio cavity in the dash.Step 5:Back camera inputs are usually a brown RCA input, but the color may vary depending on the brand of radio being installed.Step 6: You can connect to the power andground of the power socket forpower, or you can run a line toyour fuse box as well!
Agregás al carrito
Sumás este y otros productos que querés traer.
Cotizás el envío
Calculamos flete aéreo y aranceles a Argentina.
Confirmás y pagás
Un asesor te contacta con el link de pago.
Lo recibís en casa
Tracking en tiempo real. Aduana incluida.
Lo que suele llevarse para tu cámara · un solo envío para todo
De la misma marca, empezando por lo más reseñado
Los mejor puntuados del mismo tipo de producto
Mismo tipo de producto y precio parecido

![[Older Version] SanDisk 16GB 3-Pack Ultra microSDHC UHS-I Memory Card (3x16GB) - SDSQUAR-016G-GN6MM](https://m.media-amazon.com/images/I/817IttnC4lL._AC_SL800_.jpg)

![PEHAEL for iPhone 17 Privacy Screen Protector+Camera Lens Protector | 3+3 Pack, Installation Frame, Cleaning kits, Anti-Spy Private, Anti-Scratch, 9H Tempered Glass, Case Friendly, [6.3 inch]](https://m.media-amazon.com/images/I/61UXu7cBl7L._AC_SL800_.jpg)