Cargando el producto…

Precio desde
$ 20.005
+ flete y aranceles — se calculan al cotizar
Color
Compra protegida
Puerta a puerta
Aduana incluida
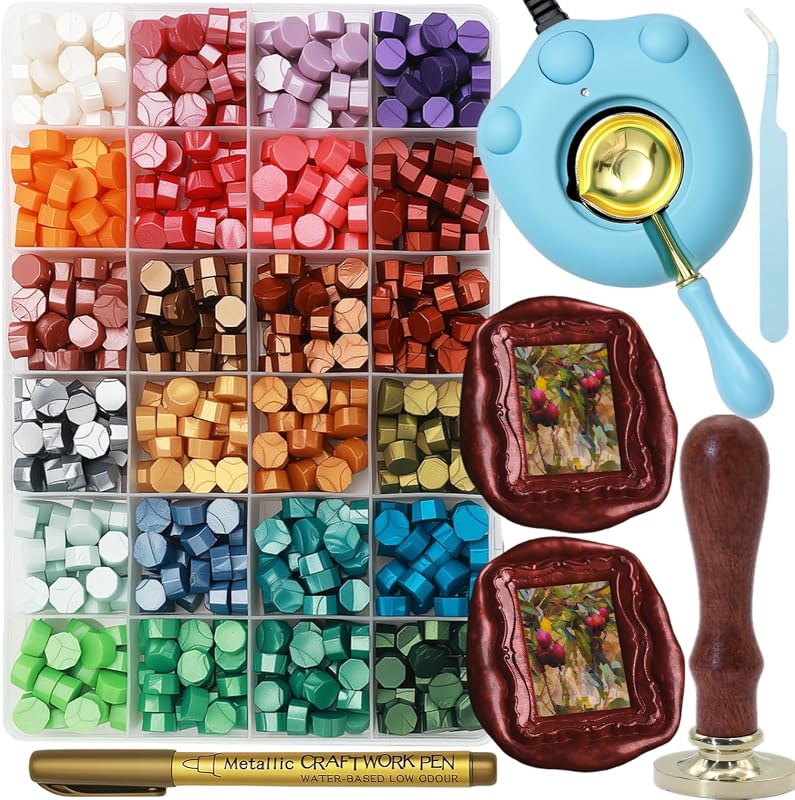
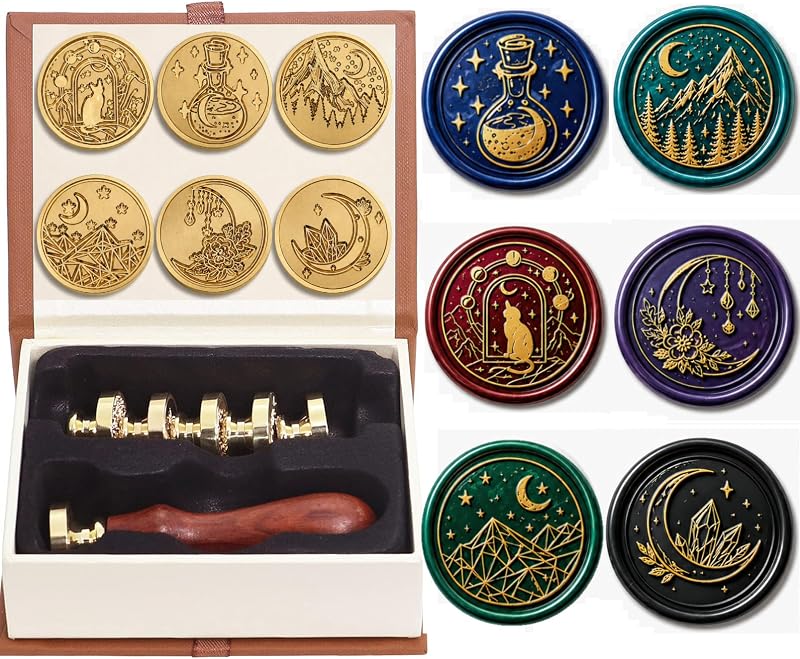
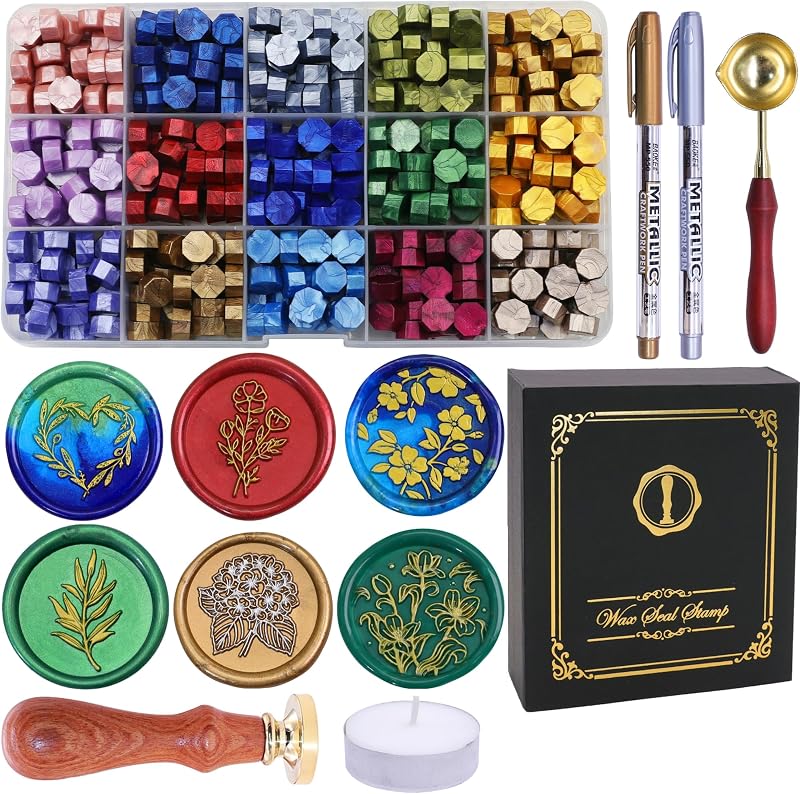
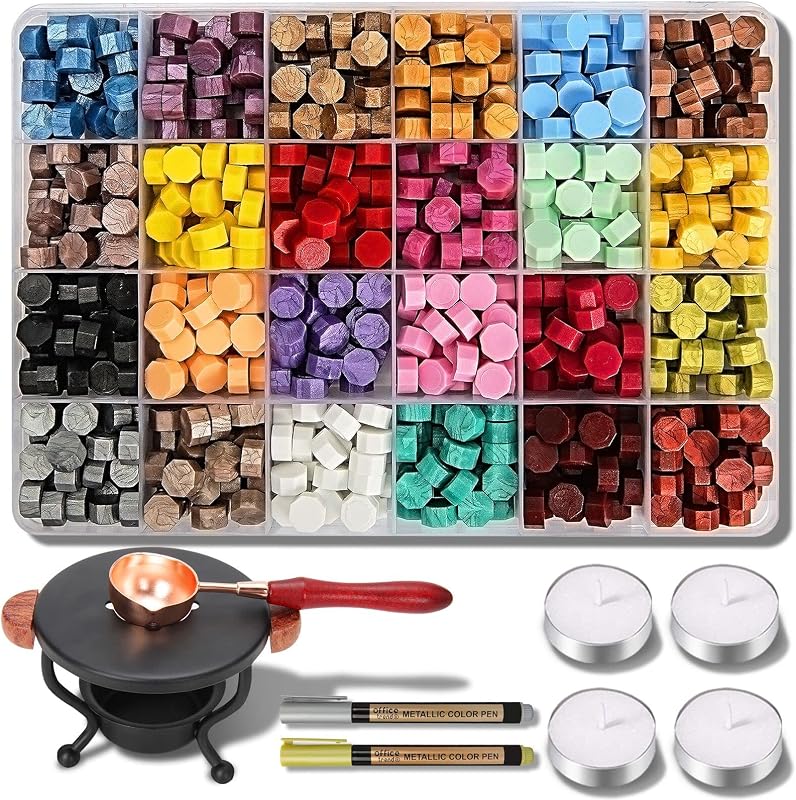
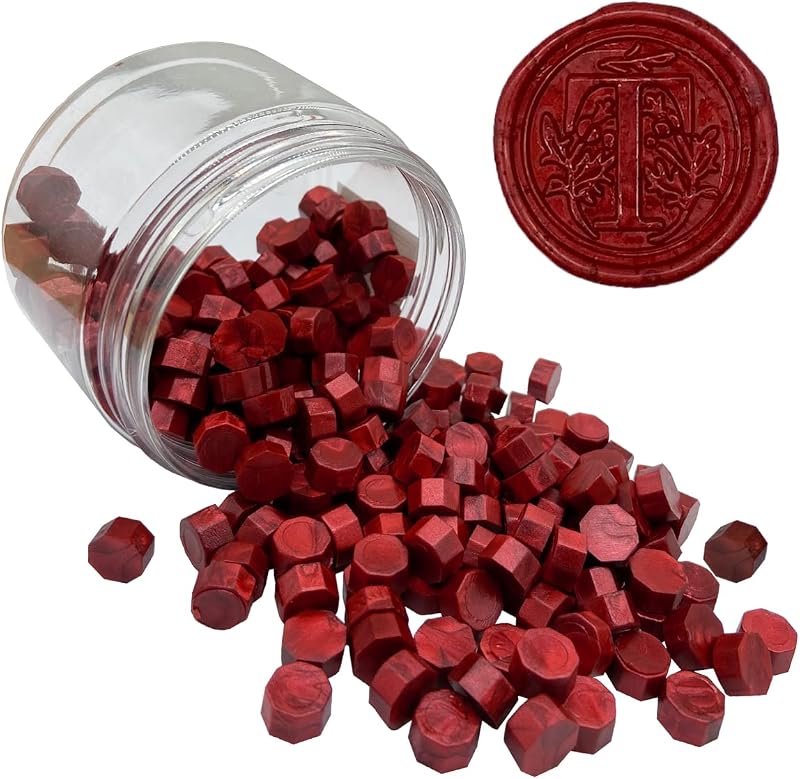
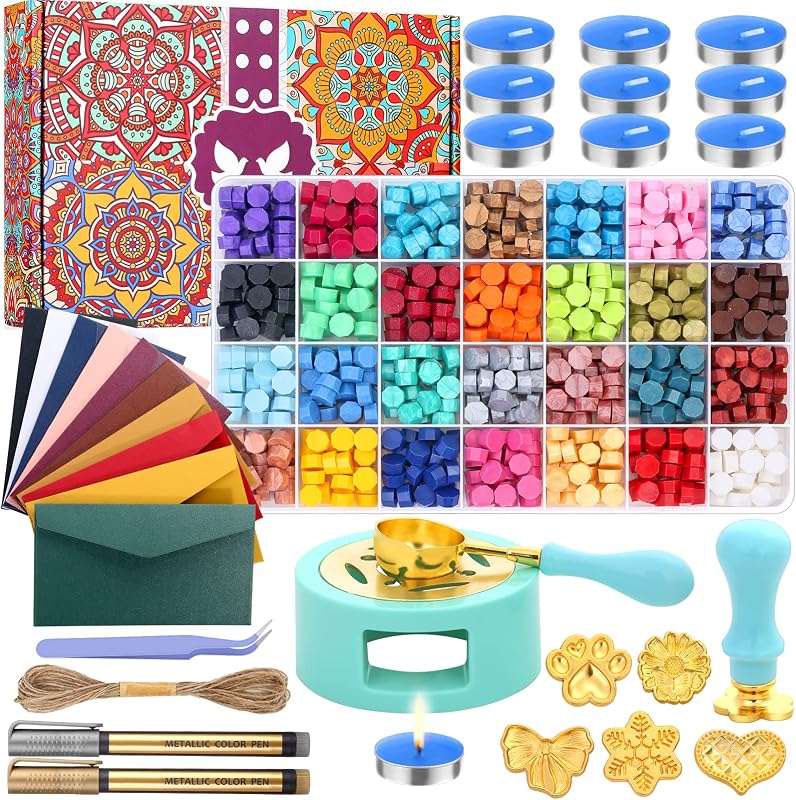
Product description HOPPLER Wax Seal Kit Benefits High Quality Materials To Make Your Experience Great We value and support the well being of our customers & offer great confidence in our wax seal gun and stamp quality! our stamps are made from copper to last longer than brass. If you run into any issue, just drop us a message. Also visit our store for more wax seal kit supplies. Comes out perfect every time The silicone wax seal mat in this kit has 1.2in cavities that are slightly smaller than other brands at 1.35in. This makes for a perfect shape every time and solves the issue of larger cavities in other silicone molds. We suggest you fill the cavity about 80% full and when you stamp the wax will press to the edge and curl giving you the perfect shape. Stick to any surface with stickers or pour on to any surface This kit come with 50 double sided stickers. This allows you to make as many seals ahead of time as you want and then attach them where ever you need. They look especially good on presents, wine bottles, letters, and invitations. Great kit for making wedding invitations and thank you cards in bulk You will love how easy the wax seal gun is to use and with the silicone mold you can make seals in bulk efficiently. Do you have a hundred invites to get out? This kit will help you make them consistent and fast. Everything You Need all in One Kit! The Hoppler wax seal kit has everything you or a friend needs to get started making beautiful wax seals. No more waiting for wax seal beads to melt you can make perfect seals using the sealing wax gun paired with the silicone mold. Then you can take it to the next level and use gold flakes or glitter to really make the seals stand out. Finally you can color the seal design with the included metallic markers to make it shine. Hoppler BOHO 6 Stamp Set Hoppler Champagne Gold Refill Hoppler Bronze Gold Refill Hoppler Light Pink Refill Hoppler Pearl White Refill Add to Cart Add to Cart Add to Cart Add to Cart Add to Cart Customer Reviews 4.6 out of 5 stars 304 4.7 out of 5 stars 5 4.4 out of 5 stars 14 3.9 out of 5 stars 6 5.0 out of 5 stars 5 Price $29.00$29.00 $12.99$12.99 $11.59$11.59 $10.98$10.98 $12.96$12.96 Great for Wedding Invites ✓ ✓ ✓ ✓ ✓ Great for Craft Projects ✓ ✓ ✓ ✓ ✓ 20 Wax Seal Sticks Stamps work well with wax seal sticks ✓ ✓ ✓ ✓ Compatible with Silicone Molds Works with the Hoppler silicone mold perfectly ✓ ✓ ✓ ✓ Real Wax Resin - Not Plastic Works with all wax types Real Wax - Not Plastic Real Wax - Not Plastic Real Wax - Not Plastic Real Wax - Not Plastic Compatible with 7mm glue guns ✓ ✓ ✓ ✓ ✓ How to use this kit to make perfect wax seals Start off by putting your color choice of wax seal sticks into your melting gun. Turn the wax seal gun on using the switch on the handle and let it warm up for about 3 minutes. Once it is warm you are ready to start pouring the wax into the silicone mold or directly onto the surface you want to seal. The wax works fantastic on metal, plastic, paper, wood, and many other surfaces. This allows you to add seals to presents, invitations, wine bottles, or whatever your heart desires. STEP 2: Pouring the wax circle Point your wax seal melting gun at the center of the cavity of the silicone mat and just aim, pull the trigger, and fill it up. You want to fill the space about 80-90% full for best results. Be sure when you put the glue gun down to set it upright and use the metal foot plate to help it stay up. If you are doing bulk seals you can leave the gun on for an extended period of time. When not in use it is suggested to turn the wax seal guns switch to off. STEP 3: Stamp the wax The HOPPLER wax seal kit is designed to be paired with whichever stamp design that fits your personality and needs. You get an amazing sunflower stamp with your kit and can purchase other stamps at the HOPPLER store. Now that you have poured the wax onto your desired location this is your chance to get creative. This kit comes with gold flakes and glitter that can be added before stamping to give the stamps variety and shine. Once you have added your extras press the stamp firmly into the center of the poured wax. Let the stamp sit until the wax has cooled, usually takes 5-15 seconds or less. With the silicone mat you can just move on to the next pour of wax and come back to it later, allowing you to make seals in bulk. Once cooled gently lift the stamp tool straight up for best results! STEP 4: You are all done! Now that your stamp is finished, you can add some flare by coloring the raised portions. This kit also has 50 wax seal stickers allowing you to add your stamps to a variety of projects such as wedding invites, letters, thank you cards, presents, and much more. Be creative... the options are endless! Using the Wax Seal Gun Pouring the wax Stamping the wax and adding extra design Finishing the stamp design coloring and placement
Agregás al carrito
Sumás este y otros productos que querés traer.
Cotizás el envío
Calculamos flete aéreo y aranceles a Argentina.
Confirmás y pagás
Un asesor te contacta con el link de pago.
Lo recibís en casa
Tracking en tiempo real. Aduana incluida.
Los mejor puntuados del mismo tipo de producto
Mismo tipo de producto y precio parecido