Cargando el producto…

Precio de origen
$ 20.005
+ flete y aranceles — se calculan al cotizar
Compra protegida
Puerta a puerta
Aduana incluida
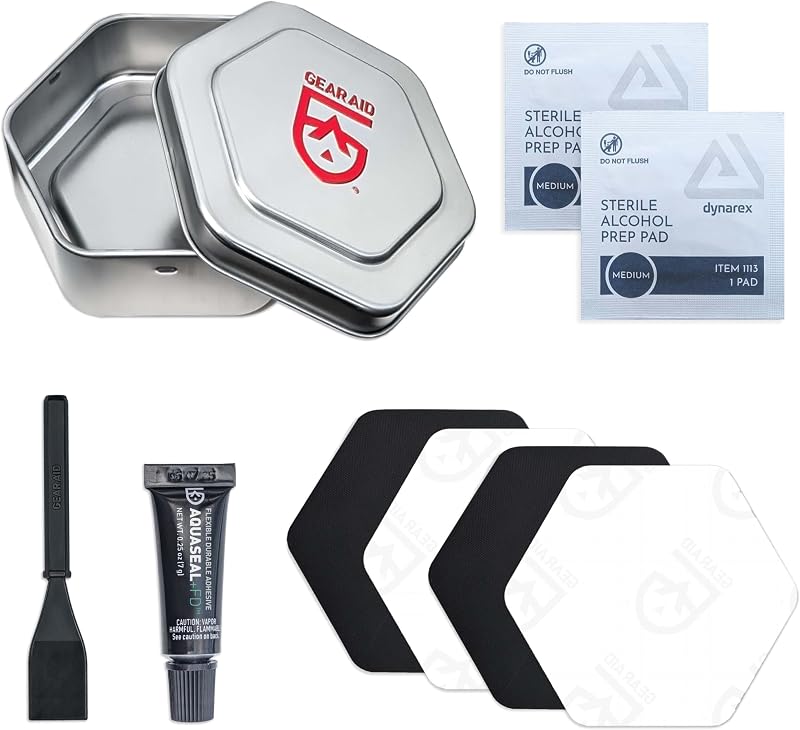
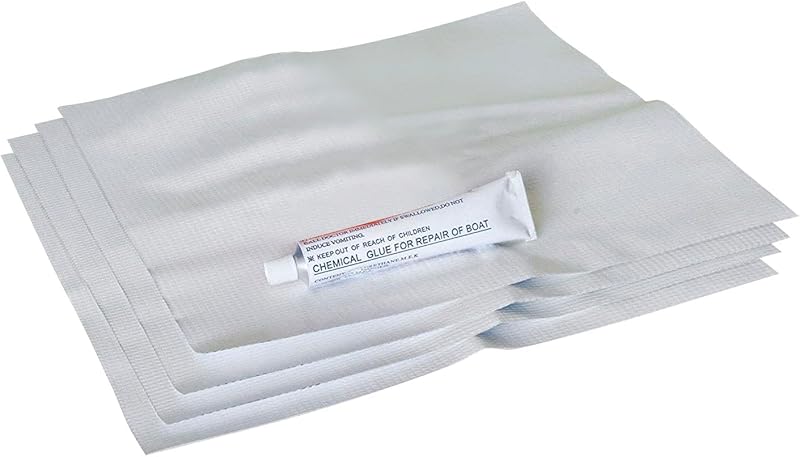
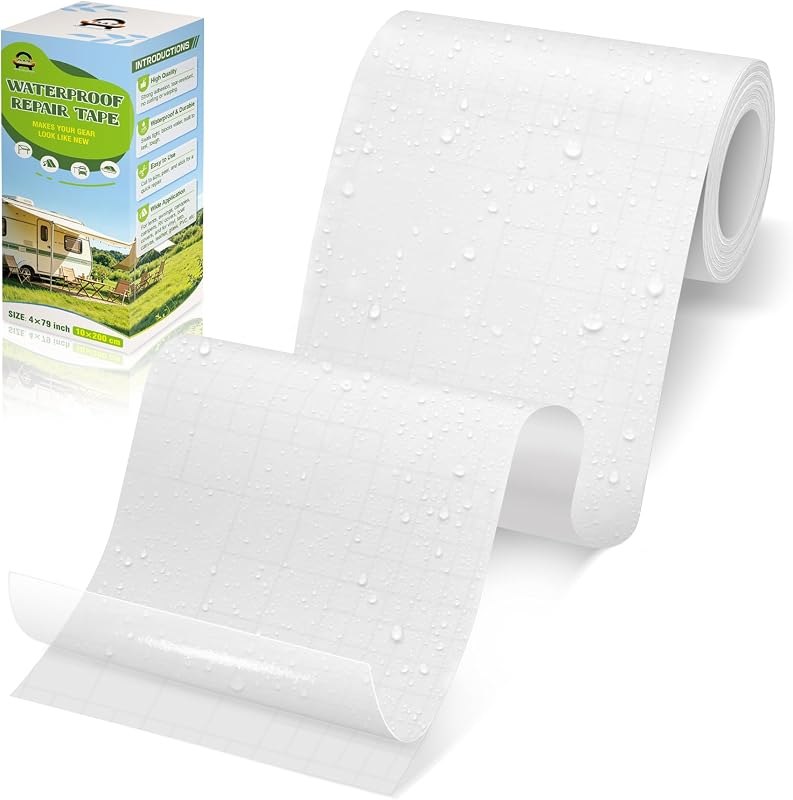
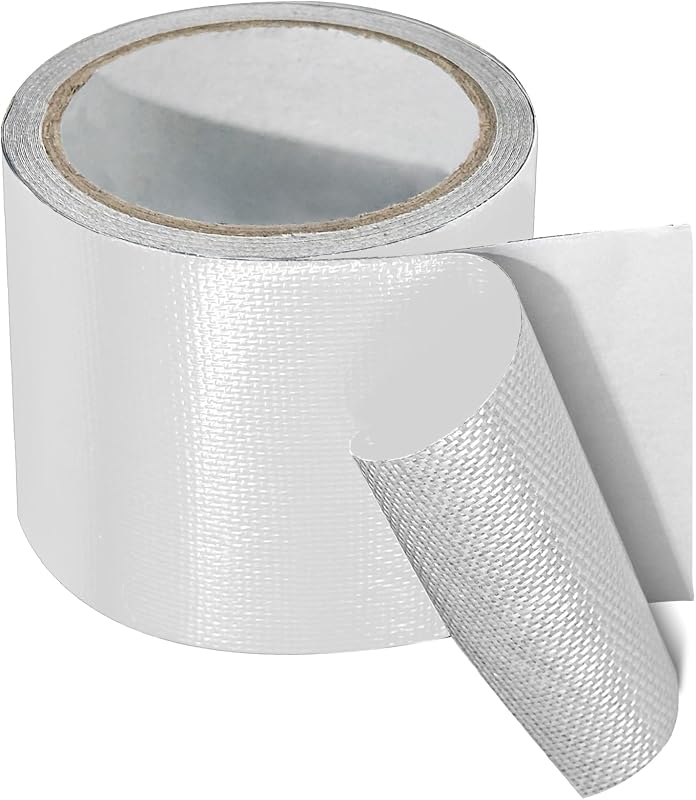
Product description How to Repair and Protect Your Camping Gear Experiencing the Great Outdoors! You’ve got that fancy tent, the ultralight and comfy sleeping bag that keeps you toasty all night, and the cushy sleeping pad that packs down to the size of a small burrito. Or you’ve got decades-old gear that has survived dozens of trips. In short: you’re stoked and ready to experience the great outdoors. And everything is great, right until you put a hole in your gear. Unfortunately, puncturing your gear is just part of the game when it comes to camping. The woods are full of sharp things just waiting to tear into your gear. And, if you are trying to lighten your load, that lightweight gear is the more susceptible to ripping and tearing. The good news is that a small hole doesn’t spell the end of any piece of gear. Most holes can be patched pretty easily with the right knowledge and equipment. We’ve put together this guide to help you repair holes in your camping gear, from clothing to tents to sleeping bags and pads. How to Repair Holes in your Tent and Sleeping Bags No matter how carefully you are, at some point, you’ll need to patch even the best equipment. Don’t worry, it’s quick and easy to do, and most patch jobs come out just as strong as when the gear was new. For all outdoor gear, it’s a good idea to look at how the manufacturer recommends repairing it. So before you do anything, look up your piece of gear and see if the original manufacturer has any tips. Next, get yourself some patch kits. Stormsure's TUFF Tape and Repair Kits is by far the best option as an all-in-one solution that can can quickly fix holes in tents, clothing, footwear, luggage, bags, sleeping bags, pads and more. Grab the small patches and throw them into your First Aid Kit so they’ll always be on hand. How to Patch Tents If you get a hole in the nylon material of your tent, you’ll first want to first clean the area (if you can) with a bit of soapy water, then let it dry. Carefully cut off any frays. Also makes for a neater repair. Stormsure's TUFF Tape is a non-rip, very strong polyurethane tape which is waterproof. Cut a piece that’s a least one inch bigger in every dimension than the hole, and to make sure there are no pointy corners on the patch when you’ve laid it down. Pointed corners have a tendency not to stick, and to peel back over time, so you’ll want a patch shape with rounded edges, a circle or oval is best. All of Stormsure's Repair Kits come with circular patches. Make sure the area around the hole is clean & dry before you patch it, as any dirt or moisture will make it harder for the patch to stick. For tents (and backpacks) we recommend a patch both on the outside and the inside of hole. This will make the patch more durable, and less likely to let moisture in over time. How to Repair Clothing and Sleeping Bags In many ways, patching your clothing (like a rain jacket or puffy) or a sleeping bag is just like patching a tent. It’s very important to repair up any holes as soon as you notice them, because if you don’t the down or synthetic insulation will escape, make a mess, and make the hole bigger. Just like with your tent, you’ll want to clean the area first with some soapy water and let it dry. For down jackets and sleeping bags you’ll want to let it dry in the sun for a while. Then it’s a good idea to trim any loose strands around the edges of the hole, before you patch. Get out a patch that’s roughly one inch larger than the hole, and lay it down, careful to make sure your patch doesn’t overlap any seams. If it does, it will have trouble sticking. Smooth out the patch from the center to remove any air bubbles. This should be good enough. If the hole is near a seam then you may want to use some Stormsure Flexible Repair Adhesive for extra strength. How to Repair Inflatable Sleeping Pads/Beds Of all the camping gear you can put a hole in, sleeping pads might be the most frustrating (and the most common). A leaky sleeping pad leads to long, hard nights out. The first thing to do is to figure out where the hole is. If it’s not visible, inflate the pad all the way, and listen carefully to figure out the general area where the hole is. If this doesn’t work, make some soapy water and throw it on the pad where you think the whole might be — the air coming out will make the soapy water bubble. If you don’t see bubbles where the air is escaping, you’ll need to submerge it fully in the bath tub and find the leak that way, but it’s a last resort. Once the hole is located, take note of where it is so you don't loose it with a black marker and let it dry fully (while inflated). There are two parts in most sleeping pad patch kits: a tube of glue and a patch. Stormsure's Repair Kits come with a tube of glue, two circular patches plus a 15cm long strip, so we have all repairs covered. If using just the glue As a rule of thumb, using the glue is definitely the more permanent repair. It is also advised to use the glue on any infl
Agregás al carrito
Sumás este y otros productos que querés traer.
Cotizás el envío
Calculamos flete aéreo y aranceles a Argentina.
Confirmás y pagás
Un asesor te contacta con el link de pago.
Lo recibís en casa
Tracking en tiempo real. Aduana incluida.
Los mejor puntuados del mismo tipo de producto
Mismo tipo de producto y precio parecido