Cargando el producto…

Precio de origen
$ 168.488
+ flete y aranceles — se calculan al cotizar
Compra protegida
Puerta a puerta
Aduana incluida
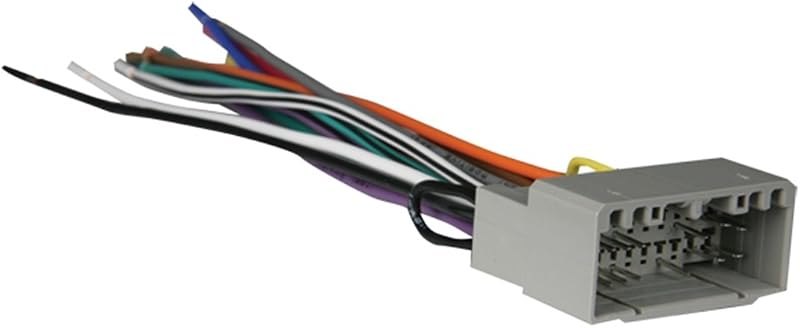
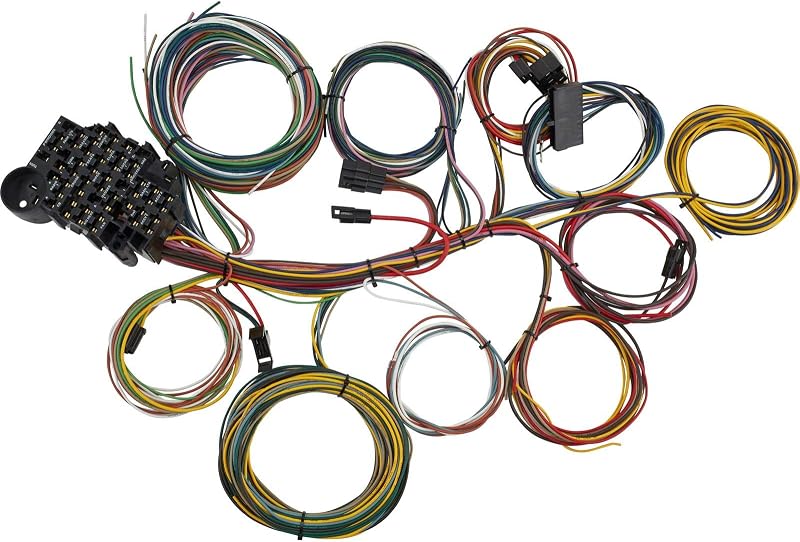
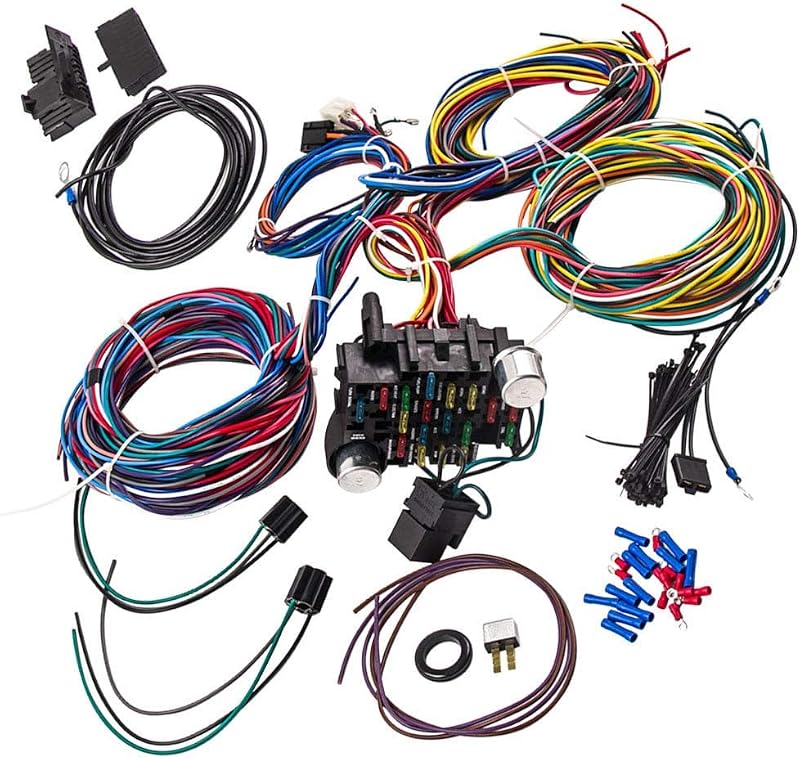
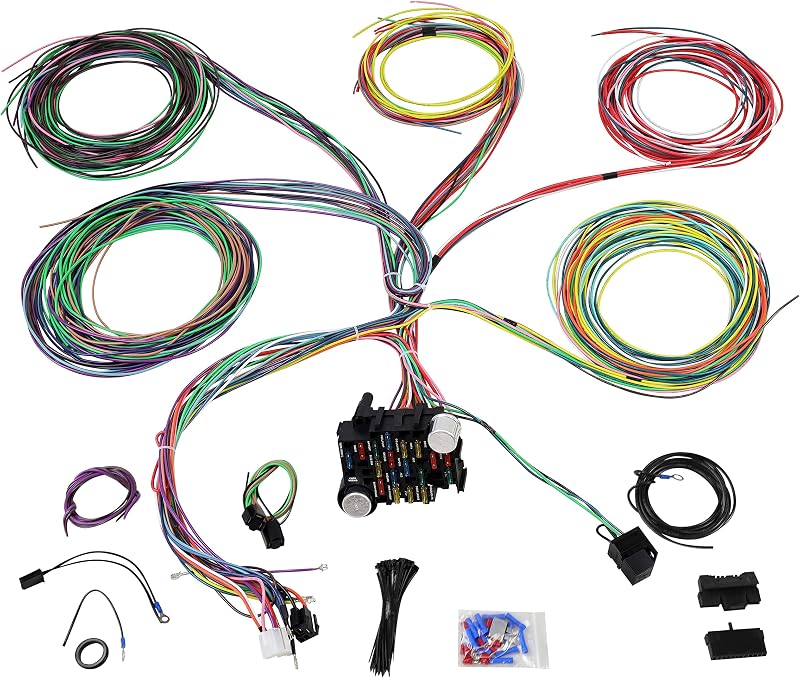
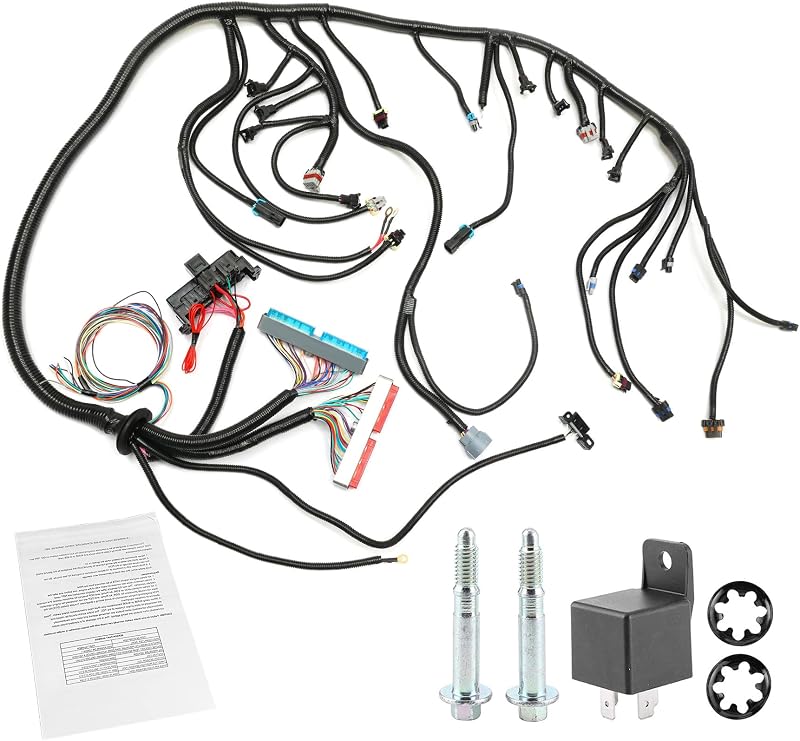
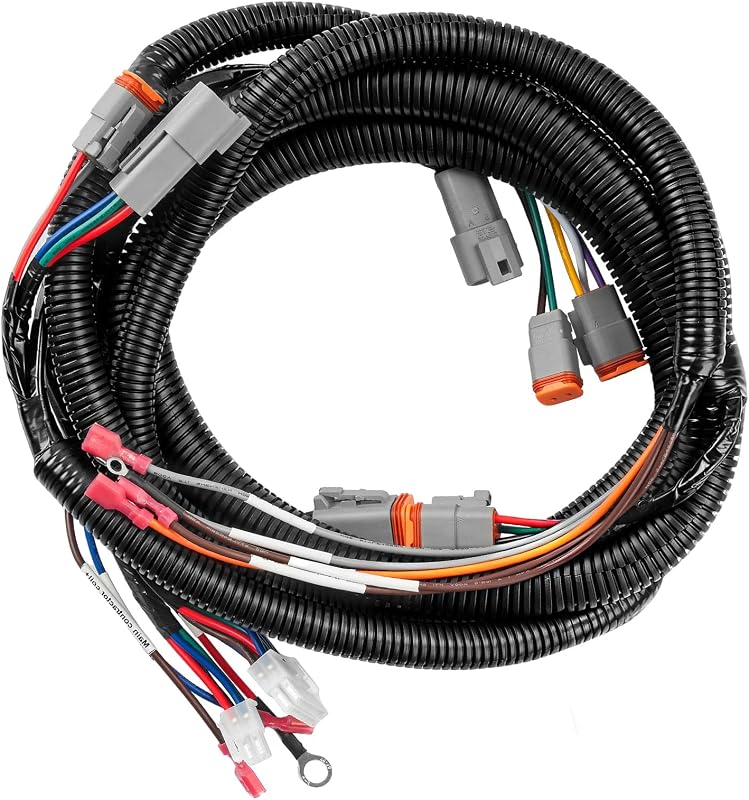
Product description THE SQ-DUBNAG WIRING SYSTEM: 1X PRE-WIRED FUSE PANEL WITH 17 FUSES AND 1 BREAKER 2X SIGNAL FLASHERS AND 1 PRE-WIRED RELAY CONNECTOR WITH HORN RELAY 2X PRE-WIRED HEADLIGHT PLUGS; 1X PRE-WIRED LATE GM ALTERNATOR PLUG 2X PRE-WIRED GM COLUMN IGNITION SWITCH PLUGS 1X PRE-WIRED DIMMER SWITCH PLUG 2X GM TURN SIGNAL CONNECTORS FOR THE PRE-TERMINATED WIRES (3 7/8" AND 4 1/4") 1X FUSIBLE LINK (3" BLACK WIRE WITH RING TERMINAL) 1X LARGE GROMMET 30X PLUS MISCELLANEOUS INSULATED TERMINALS AND SOME SMALL CABLE TIES 2X LOOSE WIRES (NUETRAL SAFETY SWITCH WIRE AND PANEL LIGHT WIRE) STEP #1 READ THESE INSTRUCTIONS before starting this installation. These instructions were developed after installing this system in over a dozen different vehicles and should make this a quick and SQ-DUBNAG job. STEP #1 To aid you we have used BOLD PRINT to note IMPORTANT items and provided general diagrams for FORD, GM and MOPAR. There is also a DO'S and DON'TS section that you may find useful. Please remember that these are GENERAL INSTRUCTIONS for your UNIQUE and SPECIFIC vehicle and you may need to MODIFY them for your application. Also whenever using AFTER-MARKET or SPECIALITY equipment, always use the diagrams PROVIDED WITH that equipment. STEP #1 This WORKBOOK is designed for both our labeled and color-coded harnesses. Whenever a specific wire is referred to, it will be displayed with its LABEL then it's COLOR. You are to use the destination that applies to the kit you purchased. If a diagram shows ONLY a color OR a label then that wire is NOT PROVIDED by this kit. An example of this would be GROUND WIRES which we DO NOT provide. We do recommend the use of black for ground wires on our color-coded harness and white on our labeled black harness to eliminate possible confusion. STEP #1 Remember this is a WORKBOOK!!! So make use of the blank space we provide for your notes. Write things down so you won't forget. STEP #2 COMPLETE THE WORK SHEET at the back of this workbook. This should be done while looking at the vehicle, so that you can identify what accessories you will be using and what switches will be necessary. Here is where A LITTLE PLANNING WILL SAVE A LOT OF TIME.The WORK SHEET has been divided into the same 4 basic sections that make-up your harness. They are the FRONT SECTION, DASH SECTION, STEERING COLUMN SECTION and TAIL SECTION.For each section compare the list of wires to your application and note if it will be USED, MOVED or REMOVED. Before marking wires to be removed consider accessories you may want to add at a later time or those not provided for by this kit. The design of your vehicle may require some of the wires to be moved form one section to another. (An example of this would be, if the horn was mounted on the rear of the car, you would want to move the HORN = GREEN wire to the tail section.) When marking a wire to be moved DON'T FORGET to WRITE IT into the new section in the extra spaces provided. The extra spaces should also be used for any extra wires you may need to add, such as ground wires. SQ-DUBNAG WIRING'S DO'S AND DON'TS DON'T LET THE SIZE OF THE JOB SCARE YOU. WE MAKE THIS INSTALLATION AN E-Z JON.DON'T START THIS INSTALLATION UNTIL BEFORE DISCONNECTING BOTH BATTERY CABLES.DO INSTALL MAIN GROUND CABLES FORM THE ENGINE TO THE FRAME AND FROM THE ENGINE TO THE BODY. MAIN GROUND CABLES SHOULD BE THE SAME SIZE AS THE BATTERY CABLESDO REMEMBER TO GROUND ALL ACCESSORIES.DON'T FORGET. A GOOD GROUND IS A CLEAN NO RUST NO PAINT CONNECTION TO METAL.DO USE CABLE TIES TO HELP LOOM AND SORT THE HARNESS. DO ROUTE THE WRIED BEFORE INSTALLING TERMINALS OR MAKING CONNEXTIONS. DO ROUTE THE WRIED OVER SHARP EDGS OR NEXT TO THE EXHAUST COMPONENTS. DO ROUTE THE WRIED TOO NEAR MOVING PARTS LIKE FANS,BELTS,STEERING GEAR,HOOD LATCHES OR HINDGES.DO FASTEN THE HARNESS DOWN WITH CLAMPS AND TIES TO KEEP IT SECURE.DON'T STRETCH WIRES TO MAKE THEM REACH. ALWAYS LENGTHEN AS NECESSARY.DO USE GROMMETS WHEN PASSING WIRES THROUGH HOLES; DO USE THE LOOM PROVIDED IN THE ENGINE COMPARTMENT; DO USE INSULATED TERMINALS OR HEAT SHRINK OVER THE CONNECTIONS; DO ALWAYS USE THE CORECT SIZE TERMINAL FOR THE GAUGE OF WIRE.DON'T OVER CRIMP THE TERMINALS. DON'T FORGET IF YOU ARE USING AN AMP METER, YOU MUST FALLOW THE SPECIAL INSTRUCTIONS ON THE DASH DIAGRAM.DO USE THE DIAGRAMS PROVIDED WTIH AFTER-MARKET OR SPECIALTY ACCESSORIES.DON'T SKIP AROUND-STEAT A SECTION AND FINISH IT. DON'T FORGET TO DO THE WORK SHEET, IT WILL SAVE YOU A LOT OF TIME.DON'T FORGET THESE ARE ONLY GENERAL INSTRUCTIONS AND YOU MAY NEED TO MODIFT THEM FOR YOUR VEHICLE.DON'T DISCARD THESE INSTRUCTIONS WHEN YOU ARE FINISHED. THIS WORJBOOD AND YOUR NOTES WILL BE USEFUL LATER IF YOU ARE ADDING ON OR MAKING REPAIRS. STEP #5 ROUTING AND ATTACHING THE WIRES. In this step you will be completing the job by terminating all those loose ends. As before this will be done section by section. We suggest you start with the TAIL SECTION and end with the DASH SECTION. Each section has
Agregás al carrito
Sumás este y otros productos que querés traer.
Cotizás el envío
Calculamos flete aéreo y aranceles a Argentina.
Confirmás y pagás
Un asesor te contacta con el link de pago.
Lo recibís en casa
Tracking en tiempo real. Aduana incluida.
Los mejor puntuados del mismo tipo de producto
Mismo tipo de producto y precio parecido