Cargando el producto…

Precio de origen
$ 81.496
+ flete e impuestos
Compra protegida
Puerta a puerta
Gestión aduanera
Tu compra, acompañada de principio a fin
Todo esto está en los Términos y Condiciones. Leerlos
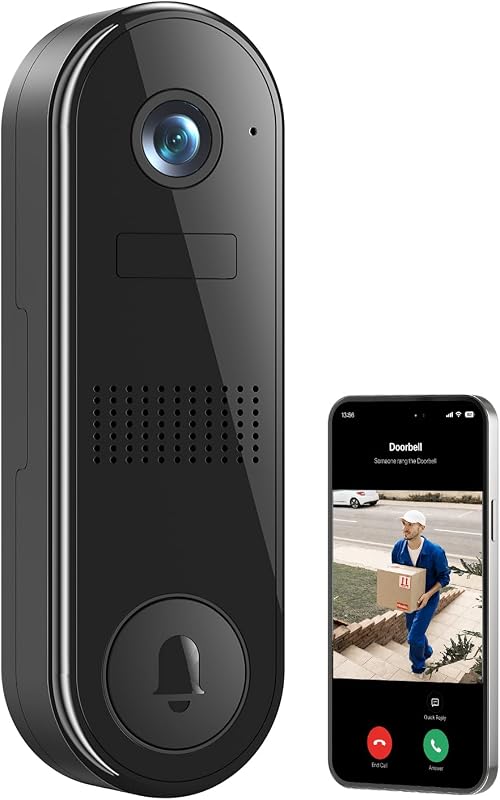
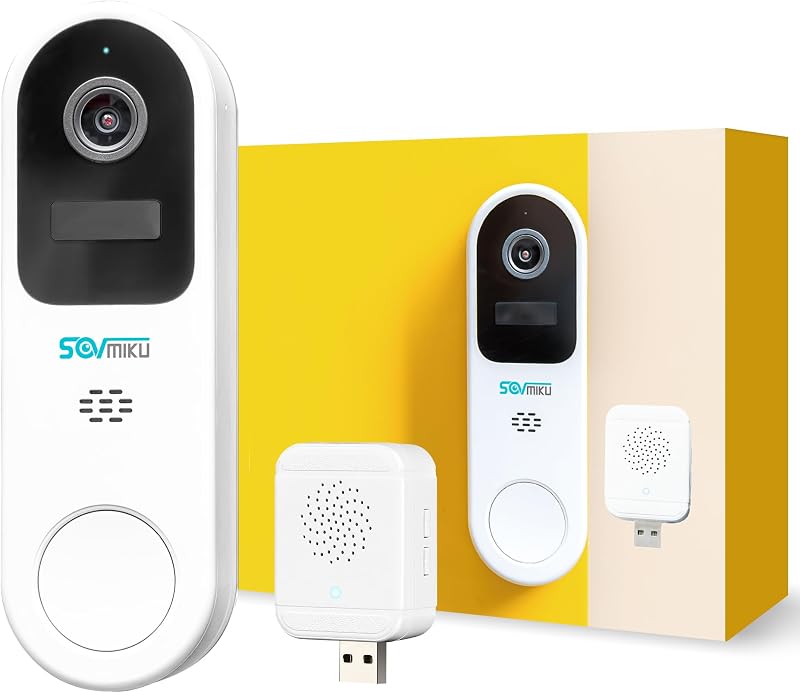
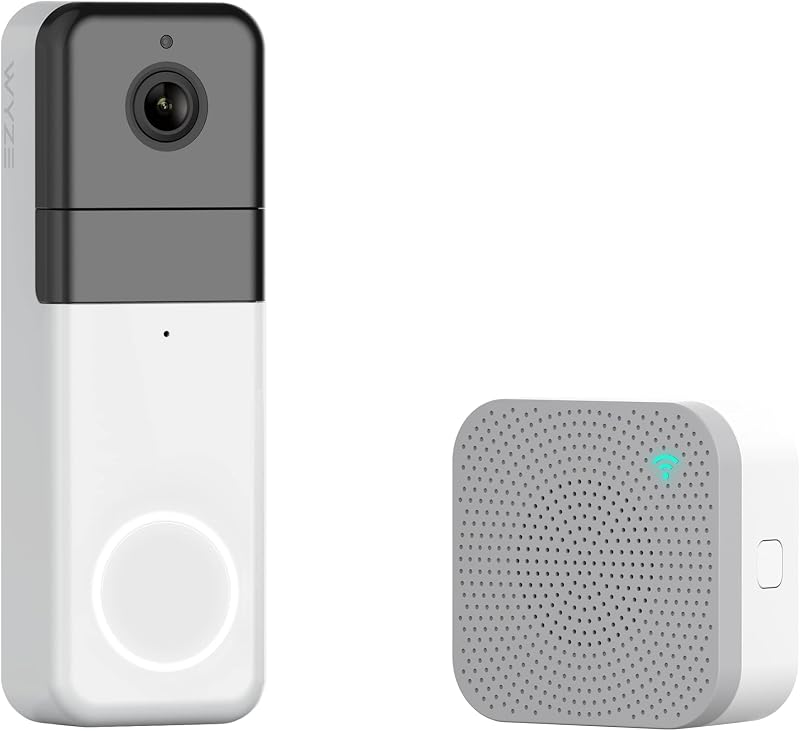
Descripción del producto Nota: Este timbre solo se conecta a WiFi de 2,4 GHz; NO es compatible con WiFi de 5 GHz. Página anterior Detección humana PIR Las zonas de alerta personalizables y los ajustes de sensibilidad garantizan notificaciones oportunas. Tarjeta SD/almacenamiento en la nube Admite tarjetas micro SD de hasta 128 GB (no incluidas) o suscripciones en la nube opcionales. La cámara con timbre Crystal Clear 2K Video XTU ofrece una claridad de video 2K excepcional para una vigilancia confiable. Audio bidireccional Equipado con audio bidireccional en tiempo real para comunicación directa. Página siguiente 1 Detección humana PIR 2 Tarjeta SD/almacenamiento en la nube 3 Video 2K nítido 4 Audio bidireccional Página anterior Integración de control de voz Funciona con Alexa y Google Assistant para una seguridad doméstica inteligente controlada por voz. Montaje versátil No se necesita cuña adicional; El timbre J10 incluye un soporte multiángulo. El timbre inalámbrico XTU para compartir dispositivos admite el uso compartido de dispositivos familiares para mayor seguridad. Página siguiente 1 Integración de control por voz 2 Montaje versátil 3 Uso compartido de dispositivos Perfecto para apartamentos: opciones de montaje duales Ideal para cualquier apartamento, mejorando la seguridad en las puertas delanteras, traseras y en el acceso a áreas comunes. Contenido de la caja 1 timbre con video J10 con soporte multiángulo 1 timbre interior inalámbrico 1 cable de carga 1 guía del usuario 1 paquete de herramientas Guía paso a paso para configurar su timbre con video XTU 1. Cargue el timbre antes de usarlo Antes del primer uso, cargue el timbre con video usando el cable tipo C. Continúe cargando hasta que el indicador de estado de carga se vuelva azul, lo que indica que está completamente cargado. El video muestra el producto en uso. El video lo guía a través de la configuración del producto. El video compara varios productos. El video muestra el producto desembalándolo. aplus content video 2. Restablecer y activar el timbre Presione el botón del timbre para activar el dispositivo, luego mantenga presionado el botón de reinicio durante 3 a 5 segundos hasta que el indicador del timbre parpadee en rojo, indicando activación. El video muestra el producto en uso. El video lo guía a través de la configuración del producto. El video compara varios productos. El video muestra el producto desembalándolo. aplus content video 3. Sincronice el timbre con su teléfono Después de restablecer la cámara, descargue y ejecute la aplicación CloudEdge. Selecciona "Agregar Dispositivo" > "Timbre Inteligente" > "Siguiente", sigue el video o la guía de la APLICACIÓN para conectar la cámara con wifi de 2.4Ghz. El video muestra el producto en uso. El video lo guía a través de la configuración del producto. El video compara varios productos. El video muestra el producto desembalándolo. aplus content video 4. Empareje el timbre incluido con el timbre Presione el botón de configuración en el timbre para activarlo; parpadeará en rojo. Luego, presione el botón del timbre para activarlo. Si el timbre parpadea en azul, indica que se ha emparejado correctamente con el timbre. El video muestra el producto en uso. El video lo guía a través de la configuración del producto. El video compara varios productos. El video muestra el producto desembalándolo. aplus content video 5. Instale el timbre en la pared Para evitar que el timbre se caiga, fíjelo a la pared con los tornillos incluidos. Para instalaciones en apartamentos donde no se prefiere taladrar, también puede fijar el timbre a la pared usando la cinta 3M incluida, asegurándose de que la superficie de la pared sea estable. El video muestra el producto en uso. El video lo guía a través de la configuración del producto. El video compara varios productos. El video muestra el producto desembalándolo. aplus content video 6. Compartir el timbre con otro teléfono Para compartir el dispositivo de timbre con miembros de la familia, escanee el código QR o ingrese una cuenta familiar. Nota: Cada teléfono móvil debe iniciar sesión en una cuenta separada para acceder al dispositivo. El video muestra el producto en uso. El video lo guía a través de la configuración del producto. El video compara varios productos. El video muestra el producto desembalándolo. aplus content video ¿Qué debo hacer si mi timbre agota la batería rápidamente? Evite enfrentarse a áreas de mucho tráfico como aceras/entradas de acceso para reducir los activadores de detección de movimiento. Ajuste la sensibilidad y el alcance del movimiento. Si hay un nuevo firmware disponible, actualícelo a través de APLICACIÓN → Configuración → Verificar nueva versión → Actualización de versión a 6.0.1.20241115. ¿Puedo conectar el timbre de la puerta a wifi de 5Ghz? No, este timbre solo se puede conectar a wifi de 2,4 Ghz. Mientras esté pegado a la pared, no puedo cargar la unidad cercana. ¿Puedo quitarlo del respaldo para cargarlo adentro? Sí, para recargarlo simplemente desenrosca el tornillo de seguridad inferior, retira el timbre y cárgalo en el interior. ¿El timbre funciona con pilas o es eléctrico? Esta cámara de timbre funciona con baterías y proporcionamos un cable de carga.
Agregás al carrito
Sumás este y otros productos que querés traer.
Cotizás el envío
Calculamos flete aéreo y aranceles a Argentina.
Confirmás y pagás
Online con tarjeta, o por transferencia, con el total final a la vista.
Lo recibís en casa
Seguimiento en tiempo real. El despacho lo hacemos nosotros.
Lo que suele llevarse para tu cámara · un solo envío para todo
Los mejor puntuados del mismo tipo de producto
Mismo tipo de producto y precio parecido


![PEHAEL para iPhone 17 Protector de pantalla de privacidad+Protector de lente de cámara | Paquete de 3+3, marco de instalación, kits de limpieza, antiespía privado, antiarañazos, vidrio templado 9H, compatible con estuches, [6,3 pulgadas]](https://m.media-amazon.com/images/I/61UXu7cBl7L._AC_SL800_.jpg)