Cargando el producto…

Precio de origen
$ 123.460
+ flete e impuestos
Compra protegida
Puerta a puerta
Gestión aduanera
Tu compra, acompañada de principio a fin
Todo esto está en los Términos y Condiciones. Leerlos
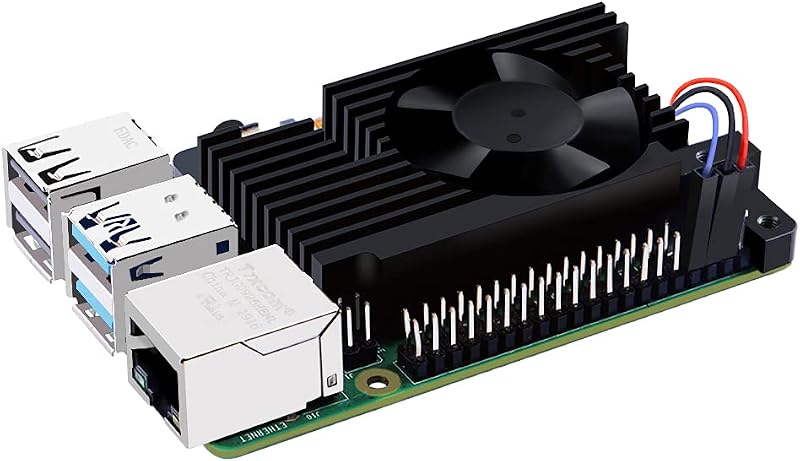
Descripción del producto Descripción general Esta es una DeskPi Pro V2 actualizada, que convierte su placa Pi 4B en una excelente computadora de escritorio de estilo NUC. Es compatible con unidades SSD de M.2 y 2.5", y también está equipada con un botón de apagado/descanso seguro. Está equipada con un súper radiador y puede ajustar automáticamente la velocidad del ventilador cuando aumenta la temperatura de la CPU, lo que garantiza que su Pi4 overclocked no se sobrecaliente. Lado frontal: presione el interruptor del botón para encenderlo; presione el interruptor del botón y manténgalo presionado durante más de 8 segundos NOTA Instale y configure su DeskPi Pro exactamente de acuerdo con el manual del usuario. Nuestro negocio se extiende por todo el mundo, lo que hace que la placa Pi sea divertida y conveniente. Nuestro equipo de servicio técnico siempre está listo para responder sus preguntas. Resumimos algunos posibles fallos y soluciones. Si tiene preguntas que no aparecen en la lista a continuación. Preguntas frecuentes P1: ¿Dónde puedo encontrar el controlador de DeskPi Pro? R: Puede encontrar la pista tanto en el sitio web deskpi.com como en github.com/DeskPi-Team/deskpi.git R: Desconecte el cable de alimentación tipo C, déle la vuelta y vuelva a enchufarlo. P9: Señal y voltaje anormales del puerto RPi 40 PIN IO causados por el panel DeskPi Pro. R: Desmonte la cubierta del DeskPi Pro y verifique si los dos extremos del cable FPC de 40 PIN están conectados correctamente. P10: Después de encender y ingresar a la pantalla de inicio, el sistema RPi no puede iniciarse. R: Primero verifique si la tarjeta se grabó en el sistema y se instaló correctamente. Luego, si el sistema aún no se inicia, desmonte la cubierta del DeskPi Pro para verificar si ambos extremos del cable FPC de 8 PIN conectado a la placa adaptadora de tarjeta están insertados correctamente. P11: Receptor de infrarrojos anormal. R: Desmonte la cubierta del Deskpi Pro para verificar si la tapa de cortocircuito de la placa de expansión IO está instalada correctamente en la posición designada. P12: No hay salida de sonido desde el puerto de audio de 3,5 mm. R: De forma predeterminada, el audio del sistema se emite a través de la interfaz HDMI. Entonces puedes usar la herramienta raspi-config para ajustar la salida a Audio Jack (analógico). P13: Interfaz USB anormal en el panel frontal. R: En el archivo /boot/config.txt, se debe ingresar el código de “dtoverlay = dwc2,dr_mode = host”, luego reinicie el RPi. P14: No se puede reparar la carcasa de aleación de aluminio y el pilar interno de cobre de la PCB. R: Instale cada componente en la posición designada. Conecte los conectores firmemente. Mantenga la dirección de instalación correcta. Primero fije ligeramente los tornillos diagonales, luego atornille todos los tornillos en la columna de cobre, apriete todos los tornillos. P15: El ventilador no funciona. R: Asegúrese de que su sistema operativo sea compatible con los sistemas probados enumerados en el sitio web de DeskPi. Conecte RPi a Internet e instale el controlador correctamente. Mantenga el cable del ventilador conectado correctamente a la PCB.
Agregás al carrito
Sumás este y otros productos que querés traer.
Cotizás el envío
Calculamos flete aéreo y aranceles a Argentina.
Confirmás y pagás
Online con tarjeta, o por transferencia, con el total final a la vista.
Lo recibís en casa
Seguimiento en tiempo real. El despacho lo hacemos nosotros.
De la misma marca, empezando por lo más reseñado
Los mejor puntuados del mismo tipo de producto
Mismo tipo de producto y precio parecido