Cargando el producto…

Precio desde
$ 52.900
+ flete e impuestos
Tamaño
Compra protegida
Puerta a puerta
Gestión aduanera
Tu compra, acompañada de principio a fin
Todo esto está en los Términos y Condiciones. Leerlos
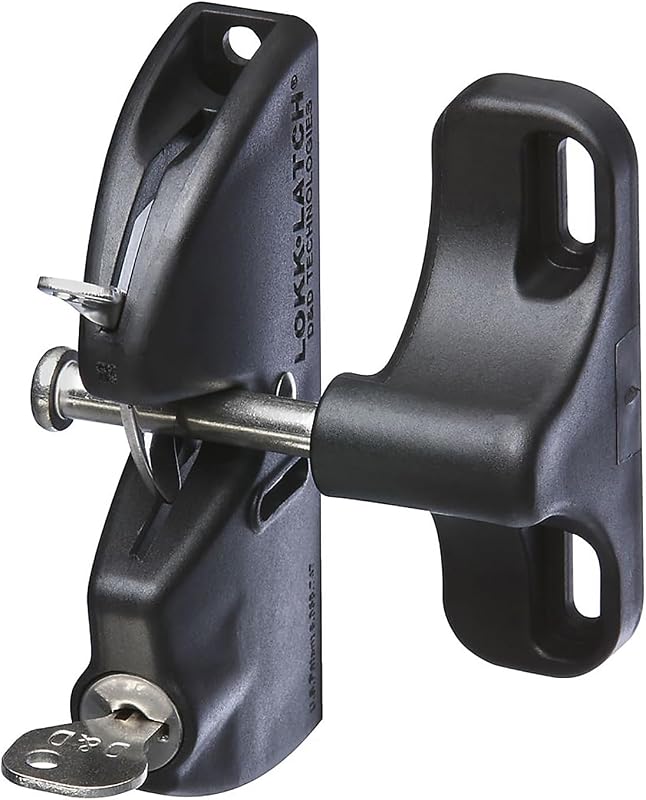
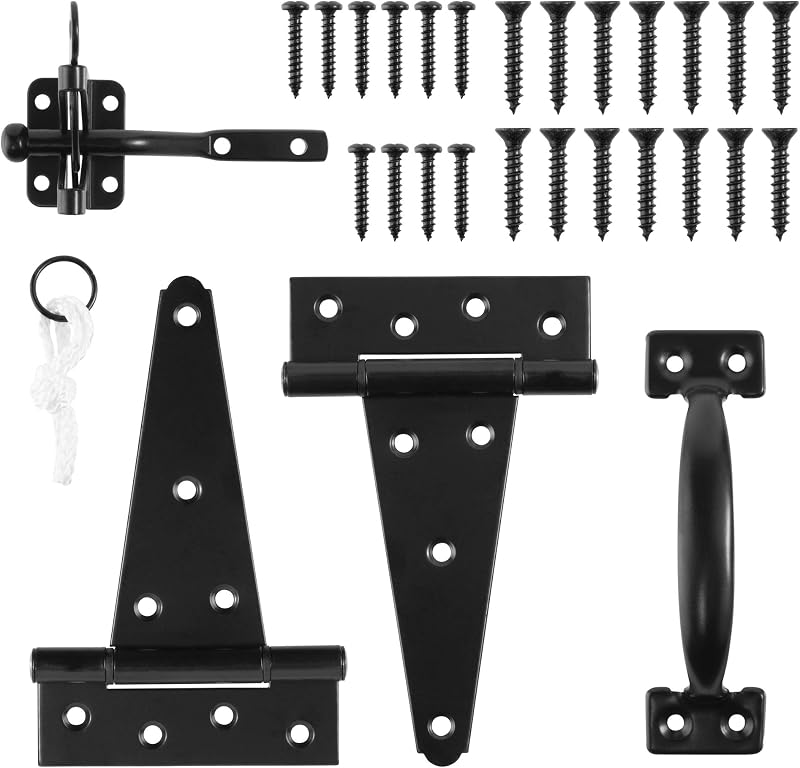
Descripción del producto Bisagra de puerta con correa de alta resistencia de 8" Kit de puerta de cierre automático con bisagra de 6" Kit de puerta con pestillo de pulgar de bisagra de 8" Kit de puerta autoajustable con bisagra de 8" Bisagra en T decorativa de alta resistencia de 8" Agregar al carrito Agregar al carrito Opciones de compra Opciones de compra Agregar al carrito Reseñas de clientes 4.7 de 5 estrellas 266 4.6 de 5 estrellas 282 4.4 de 5 estrellas 60 4.6 de 5 estrellas 58 4.8 de 5 estrellas 610 Precio $31.99$31.99 $18.99$18.99 — sin datos — sin datos $28.99$28.99 Cantidad de unidades 6 paquetes 1 juego 1 juego 1 juego 6 paquetes Para instalar el pestillo y la manija: Cuando las personas se paran dentro de la puerta, la puerta se empuja hacia afuera para abrirse Métodos de instalación 1: Apertura de puerta derecha aplicable 1. En el poste de la cerca, busque. 2. Cierre la puerta e instale la barra de retención (la posición de la barra de retención debe estar alineada con la posición del orificio de bloqueo del pestillo), marque los orificios para los tornillos y apriete los tornillos (la barra de retención debe estar paralela al suelo). 3. Coloque la manija en la barra de retención, marque los orificios para los tornillos y apriete los tornillos. Instalación completada, consulte la figura 3. Métodos de instalación 2: Aplicable a la izquierda. apertura de la puerta Es necesario quitar y volver a instalar el pestillo. El método para quitar e instalar el pestillo es el siguiente: 1) Gire hacia afuera (1) y quite (3), el producto se divide en 4 partes. (Como se muestra en la Figura 2) Gire el conjunto 4 y muévalo al otro lado de (2) para realizar el montaje. (Como se muestra en la Figura 3) Vuelva a ensamblar (1) y (3). (Como se muestra en la Figura 4) 4) Se completó el reensamblaje del pestillo. Métodos de instalación 2: Apertura de puerta izquierda aplicable 1. En el poste de la cerca, busque la ubicación adecuada para el pestillo y marque los orificios para tornillos de acuerdo con la altura de uso personal, apriete los tornillos. 2. Cierre la puerta e instale la barra de retención (la posición de la barra de retención debe estar alineada con la posición del orificio del pestillo), marque los orificios de los tornillos y apriete los tornillos. (La barra de retención debe estar paralela al suelo). 3. Coloque la manija en la barra de retención, marque los orificios de los tornillos y apriete la tornillos. Instalación completada, consulte la figura 3. Ver más
Agregás al carrito
Sumás este y otros productos que querés traer.
Cotizás el envío
Calculamos flete aéreo y aranceles a Argentina.
Confirmás y pagás
Online con tarjeta, o por transferencia, con el total final a la vista.
Lo recibís en casa
Seguimiento en tiempo real. El despacho lo hacemos nosotros.
De la misma marca, empezando por lo más reseñado
Los mejor puntuados del mismo tipo de producto
Mismo tipo de producto y precio parecido