Cargando el producto…

Precio de origen
$ 63.660
+ flete e impuestos
Compra protegida
Puerta a puerta
Gestión aduanera
Tu compra, acompañada de principio a fin
Todo esto está en los Términos y Condiciones. Leerlos
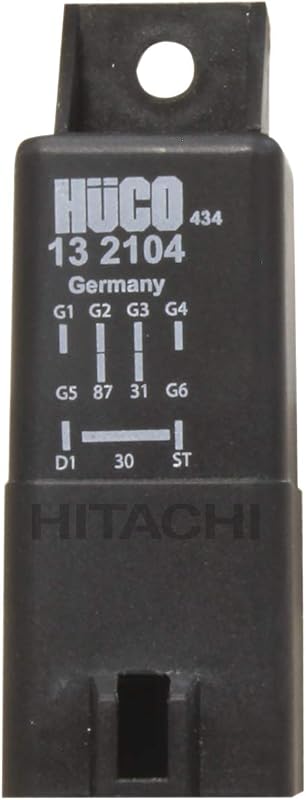
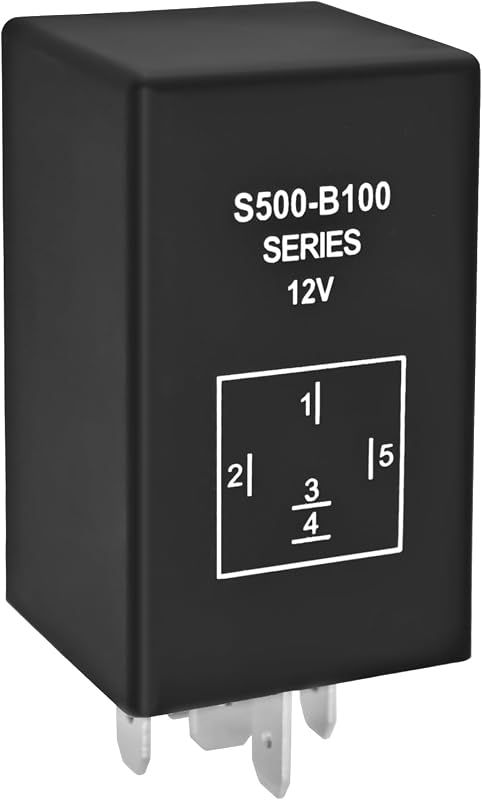
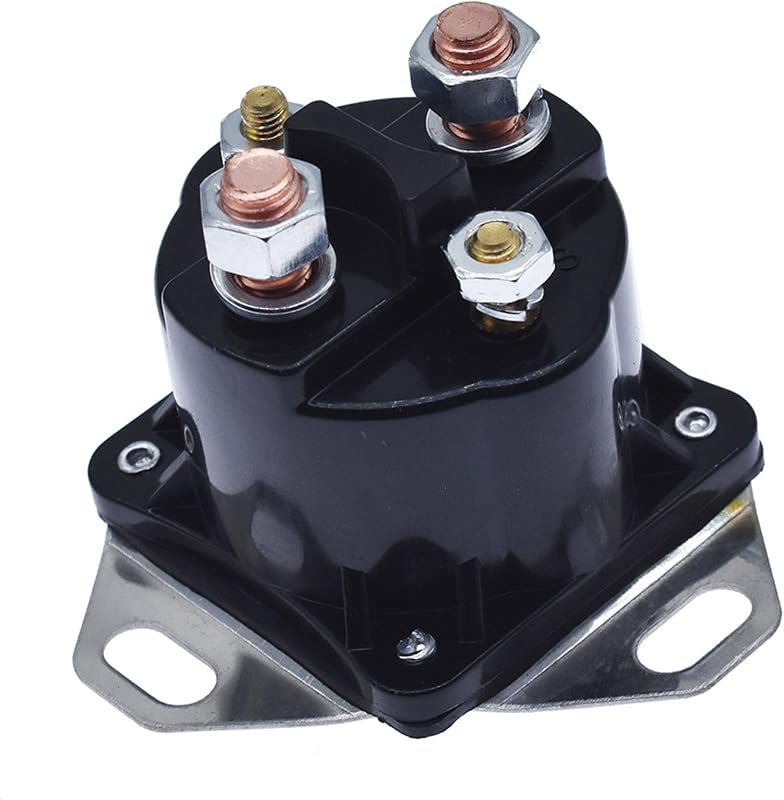
Product description Glow Plug Control Module Installation Manual (Safety Warning: Improper operation may cause circuit damage, fire, or device failure! Follow all steps strictly) Pre-Installation Preparation Verify Product Compatibility Match the glow plugs and control module using the vehicle’s OE number + model (engine type/cylinder count). Do NOT rely on visual appearance alone. Tools and Materials Multimeter (for resistance measurement) Insulated gloves, electrical contact cleaner (if oxidation is present) OEM-specified glow plugs (as replacements) Installation Steps 1.Inspect Glow Plugs Measure Resistance: Test all glow plugs (4 for 4-cylinder, 6 for 6-cylinder, 8 for 8-cylinder). Normal Condition: All glow plugs should show similar resistance values (typical range: 0.1–2Ω; refer to OEM specifications). Fault Handling: Replace any glow plug with abnormal resistance before proceeding. 2.Check Control Module Connector Visual Inspection: Ensure no corrosion, aging, or physical damage on the connector. Cleaning: Clean oxidized contacts with electrical contact cleaner. Do NOT proceed if the connector is damaged—replace it first. 3. Install Glow Plug Control Module Mount the Module: Align the module with the mounting bracket and temporarily secure it with screws (final tightening after testing). Connect the Harness: Ensure the connector is fully seated and locked. Loose connections may cause overheating! 4.Power-On Test & Monitoring Start the Vehicle: Check if the preheating indicator on the dashboard functions normally. Monitor for 3–10 Minutes: Use an infrared thermometer or touch (with gloves) to check: Abnormal heat at the module connector or wiring. Short circuits to ground (re-test with a multimeter if needed). Critical Faults: If overheating occurs, immediately disconnect power and verify glow plug compatibility. Incorrect glow plug resistance doubles current, risking wire harness meltdown! 5.Finalize Installation Secure the Module: Fully tighten all screws to prevent vibration-induced loosening. Recheck Connections: Confirm the connector is firmly locked and free from play. Key Precautions Glow Plug Replacement: If replacing glow plugs, ensure resistance matches OEM specifications. Deviations will: Disable module protection features Cause wiring harness overheating and fire Avoid Short Circuits: Prevent glow plugs from contacting the engine block during installation. Post-Installation Check: Re-test glow plug resistance and connector integrity within 24 hours of first use. See More
Agregás al carrito
Sumás este y otros productos que querés traer.
Cotizás el envío
Calculamos flete aéreo y aranceles a Argentina.
Confirmás y pagás
Online con tarjeta, o por transferencia, con el total final a la vista.
Lo recibís en casa
Seguimiento en tiempo real. El despacho lo hacemos nosotros.
Los mejor puntuados del mismo tipo de producto
Mismo tipo de producto y precio parecido